Add Employee Termination Details and Final Pay Computation
Proper termination process is followed when an employee is about to leave the company due to either of the following reasons:
- Resignation
- Termination
- Retirement
Resignation
Termination
Retirement
Employee termination details must be updated in preparation for the computation of the employee’s final pay.
To Add Employee Termination Details and Compute Final Pay:
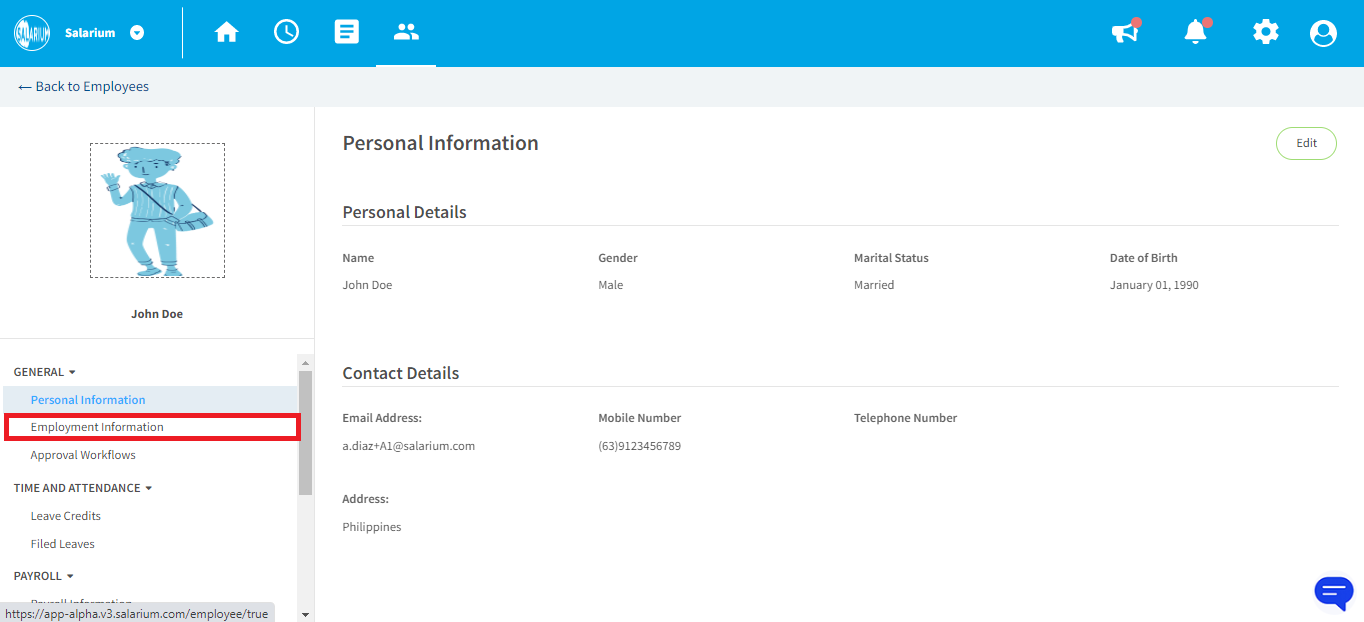
1. From the Employee's 201 Profile, click on the Employment Information tab.
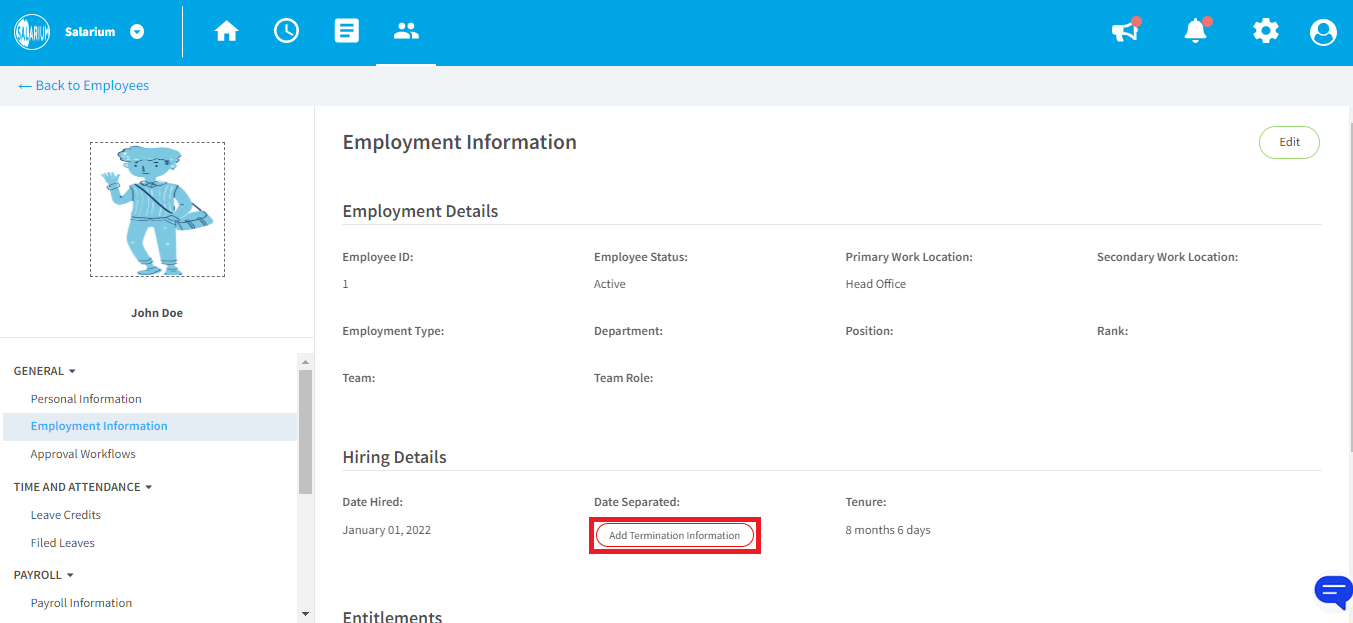
2. Click on Add Termination Information.
3. Enter the necessary information to process the termination.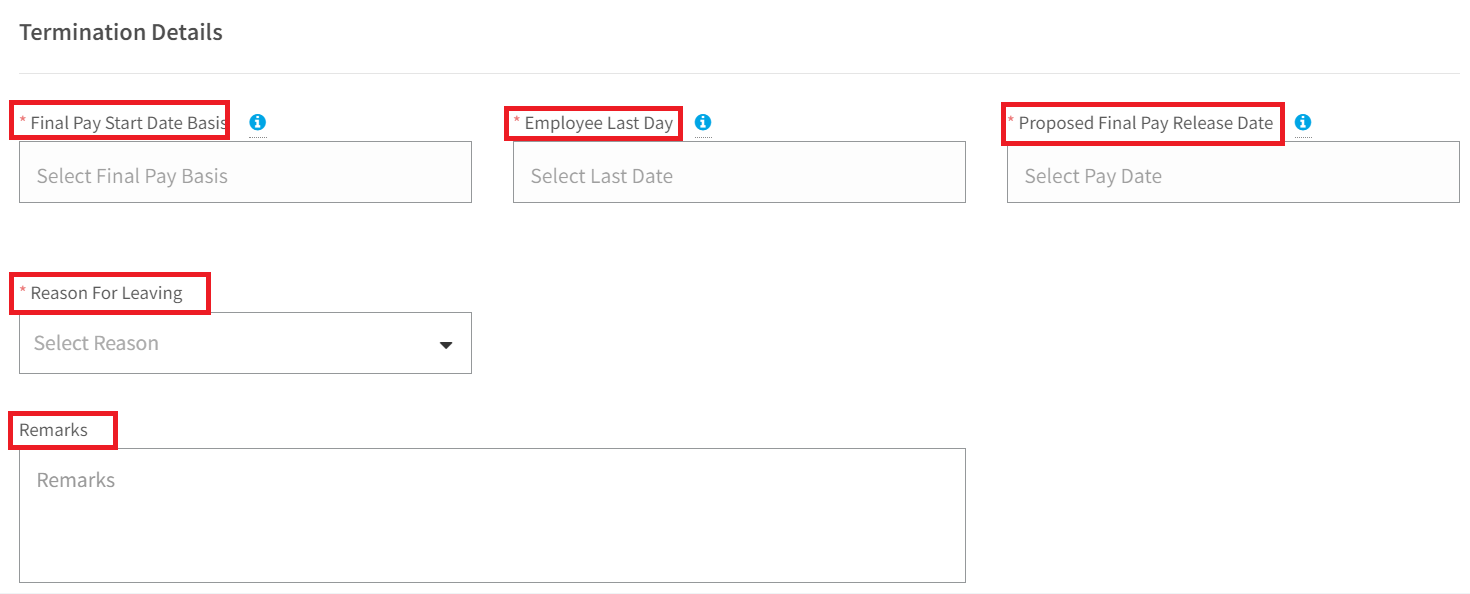
Final
Pay Start Date Basis
Enter
the start date to be considered for the final pay.
Employee
Last Day
Enter
the date of the employee’s last day.
Proposed
Final Pay Release Date
Enter
the proposed final pay release date. This is used when filtering dates during
the generation of the final pay.
Reason
for Leaving
Enter the employee’s reason for leaving. The available options are as
follows:
- Termination
- Resignation
- Retirement
Remarks
Specify
additional remarks when needed.
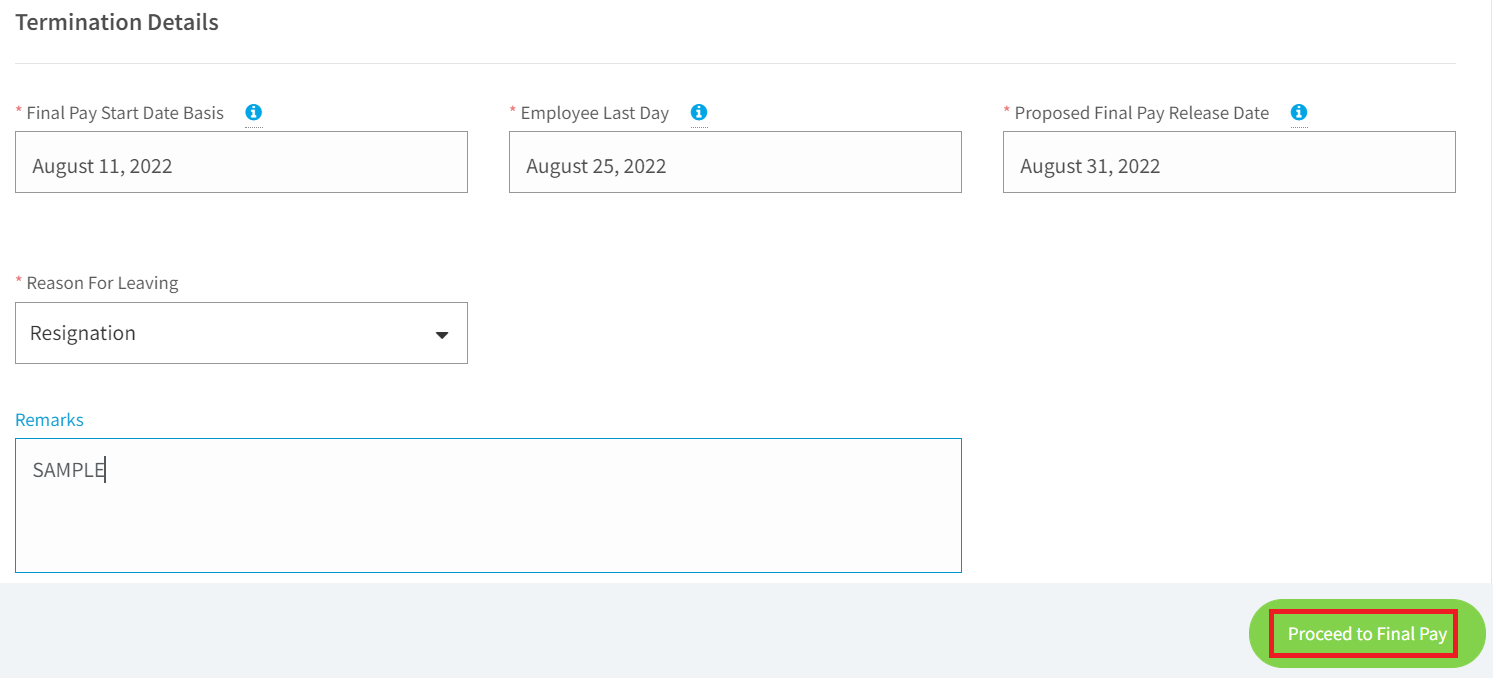
4. After all required details are entered, click Proceed to Final Pay button.
5. The following additional data may be added:
Final Pay Start Date Basis | Enter the start date to be considered for the final pay. |
Employee Last Day | Enter the date of the employee’s last day. |
Proposed Final Pay Release Date | Enter the proposed final pay release date. This is used when filtering dates during the generation of the final pay. |
Reason for Leaving | Enter the employee’s reason for leaving. The available options are as follows:
|
Remarks
| Specify additional remarks when needed. |
- Allowances
- Adjustments
- Bonuses
- Commissions
- Deductions
- Loans
- Contributions
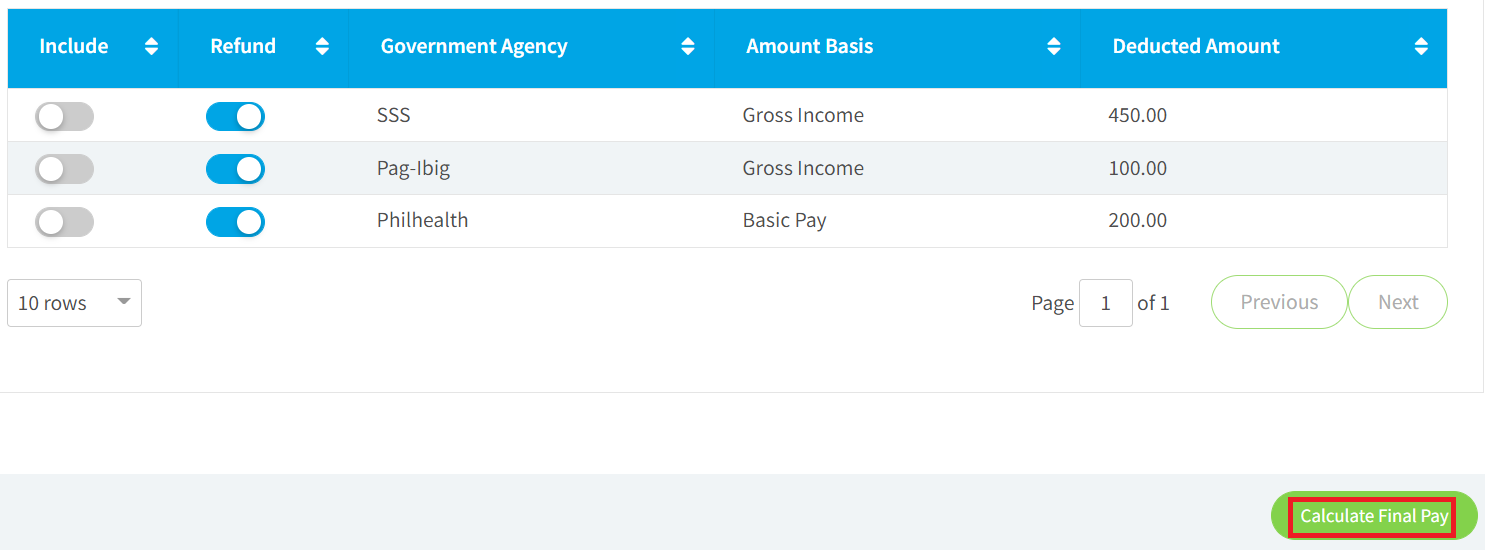
6. When all important information is added, click the Calculate Final Pay button.
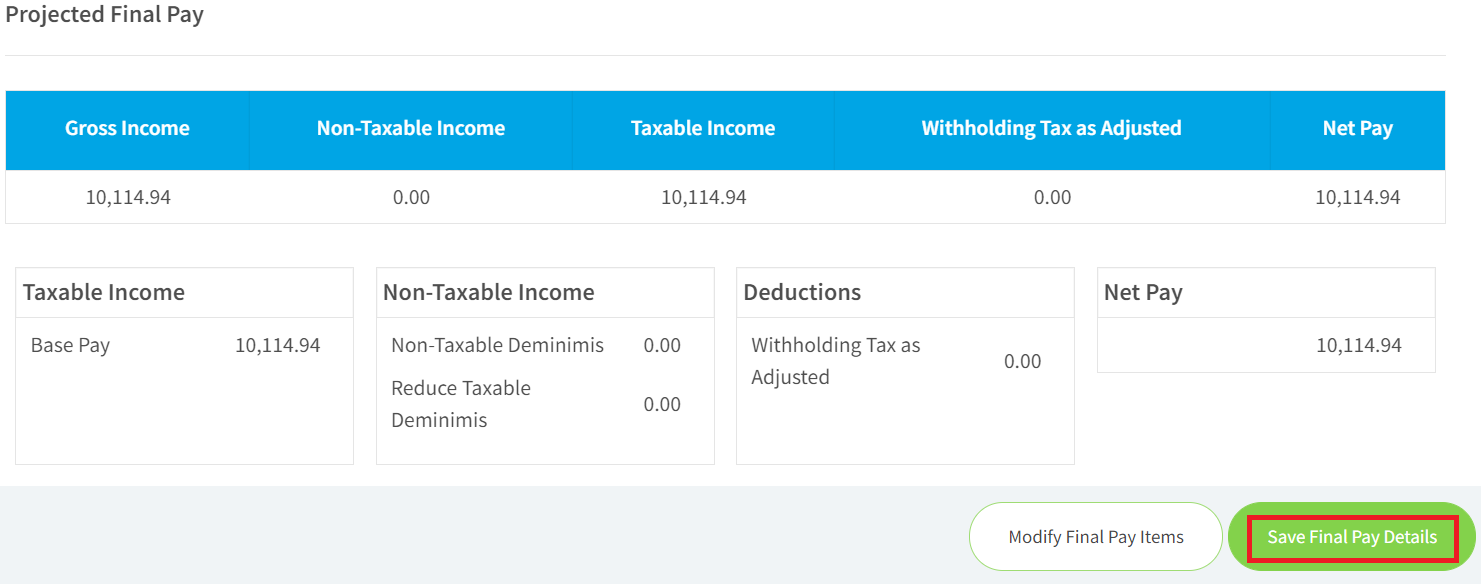
7. In the Projected Final Pay page, an estimated final pay amount is displayed.

 Note:
Note:
The Net Pay amount reflected considers that the employee has perfect attendance. The final pay amount may still change depending on the employee’s actual attendance.
8. The user may choose from the options below:

10. When there are no additional changes to be applied, proceed with the employee’s termination process and click on the Save Final Pay details button.
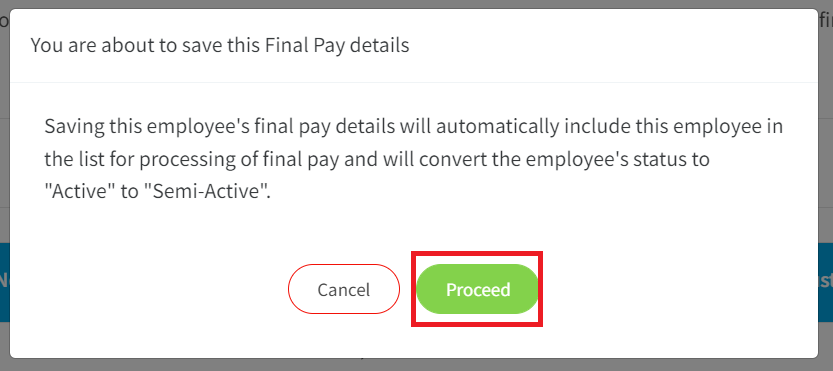
9. Upon clicking the Proceed button, the employee’s final pay details are automatically added to the list for processing of final pay and the employee’s status is changed from ‘Active’ to ‘Semi-Active’.
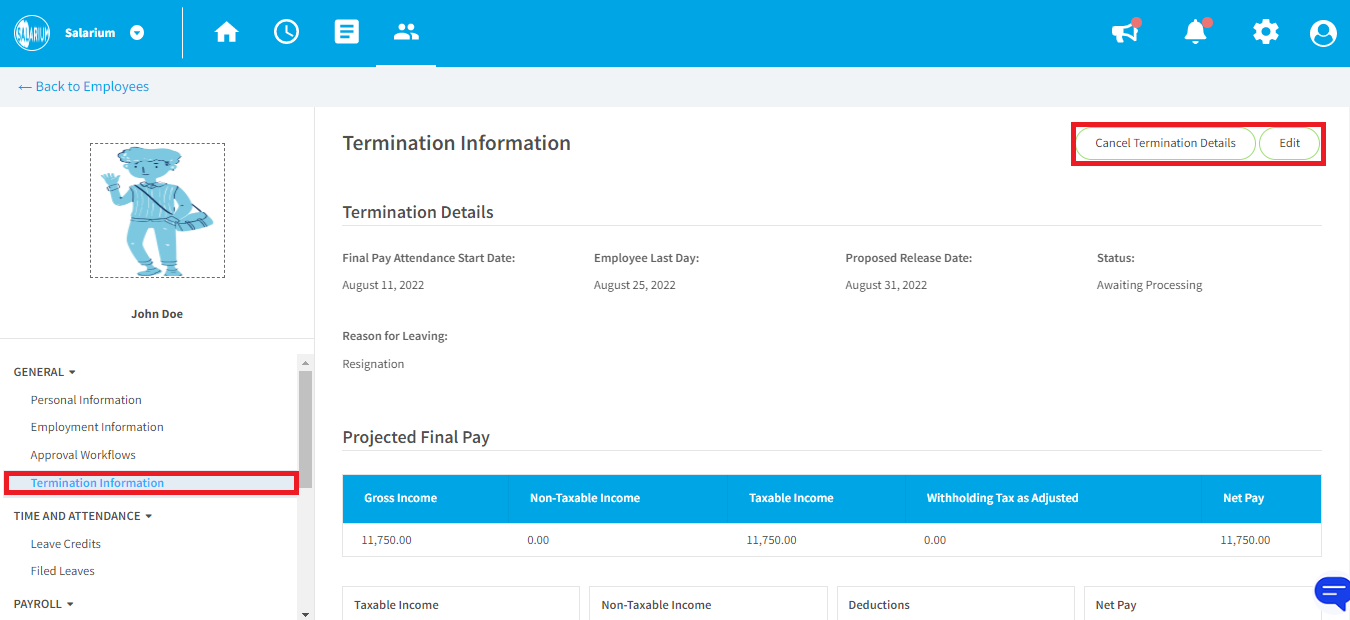
10. In the Termination Information section, you will see the details and you can still edit/modify the final pay details, or cancel the termination if necessary.
 HELPFUL ARTICLE/S
- Allowances
- Adjustments
- Bonuses
- Commissions
- Deductions
- Loans
- Contributions
6. When all important information is added, click the Calculate Final Pay button.
7. In the Projected Final Pay page, an estimated final pay amount is displayed.
Note:
The Net Pay amount reflected considers that the employee has perfect attendance. The final pay amount may still change depending on the employee’s actual attendance.
HELPFUL ARTICLE/S
Related Articles
View and Edit Individual Employee Records
View Employee Records To View Employee Records: 1. From the Top Navigation, click Employees > People. 2. Locate the employee you would like to view from the list. Use the search bar to look for the employee by entering the Employee ID or Employee ...Add and Edit Basic Pay Adjustments
When an employee is either promoted or had a high-performance evaluation, the basic salary is adjusted and will take effect on a specific date. Add Basic Pay Adjustment To add basic pay adjustments: 1. From the employee's 201 profile, clik on the ...Add Employee/s via Add Multiple People
The People tab is where you can add new employees and maintain/update existing employee records. It displays the Employee List where you can see a preview of each employee’s employee information. Clicking on an employee’s name allows you to view and ...Add Deduction
Add Deductions (Manual Entry) To Add a Deduction via Manual Entry: 1. From the Top Navigation Bar, click Employees > Deductions. 2. Click on the Add Deductions button. 3. Choose the Manual Entry option. 4. Enter the necessary initial information: ...Add Allowances
Add Allowances To Add an Allowance (Manual Entry): 1. From the Top Navigation Bar, head to Employees > Allowances. 2. Click on the Add Allowances button. 3. Choose the Manual Entry option. 4. Enter the necessary initial information: Employee name or ...